Abacus
My good friends are married and just had a beautiful baby girl. I was looking for a gift to celebrate her birth, and watched a few toymakers on youtube. One had made a rattle out of wood, and I reckoned I could probably make one too, despite my rotten woodworking skills. As I was rummaging through my fathers' shed, it struck me that a rattle is interesting insofar as it provides sensory stimulation, but any simple shaker will eventually have to compete for the baby's attention against toys that have been A/B tested and refined on millions of other adorable babies. A shoddy rattle wouldn't stand a chance; I had to switch niches. I wanted to make something that would grow alongside her, something multifaceted. I decided I would build an abacus: an ancient piece of mathematical technology that has helped almost every civilisation in history to perform arithmetic. I went for it, and I was pleasantly surprised at how it turned out, so I decided to post a small build tutorial on this website, since I had been taking photos of the process anyway. My sincere apologies to the respected craftsperson who might find my methods a little lacking.
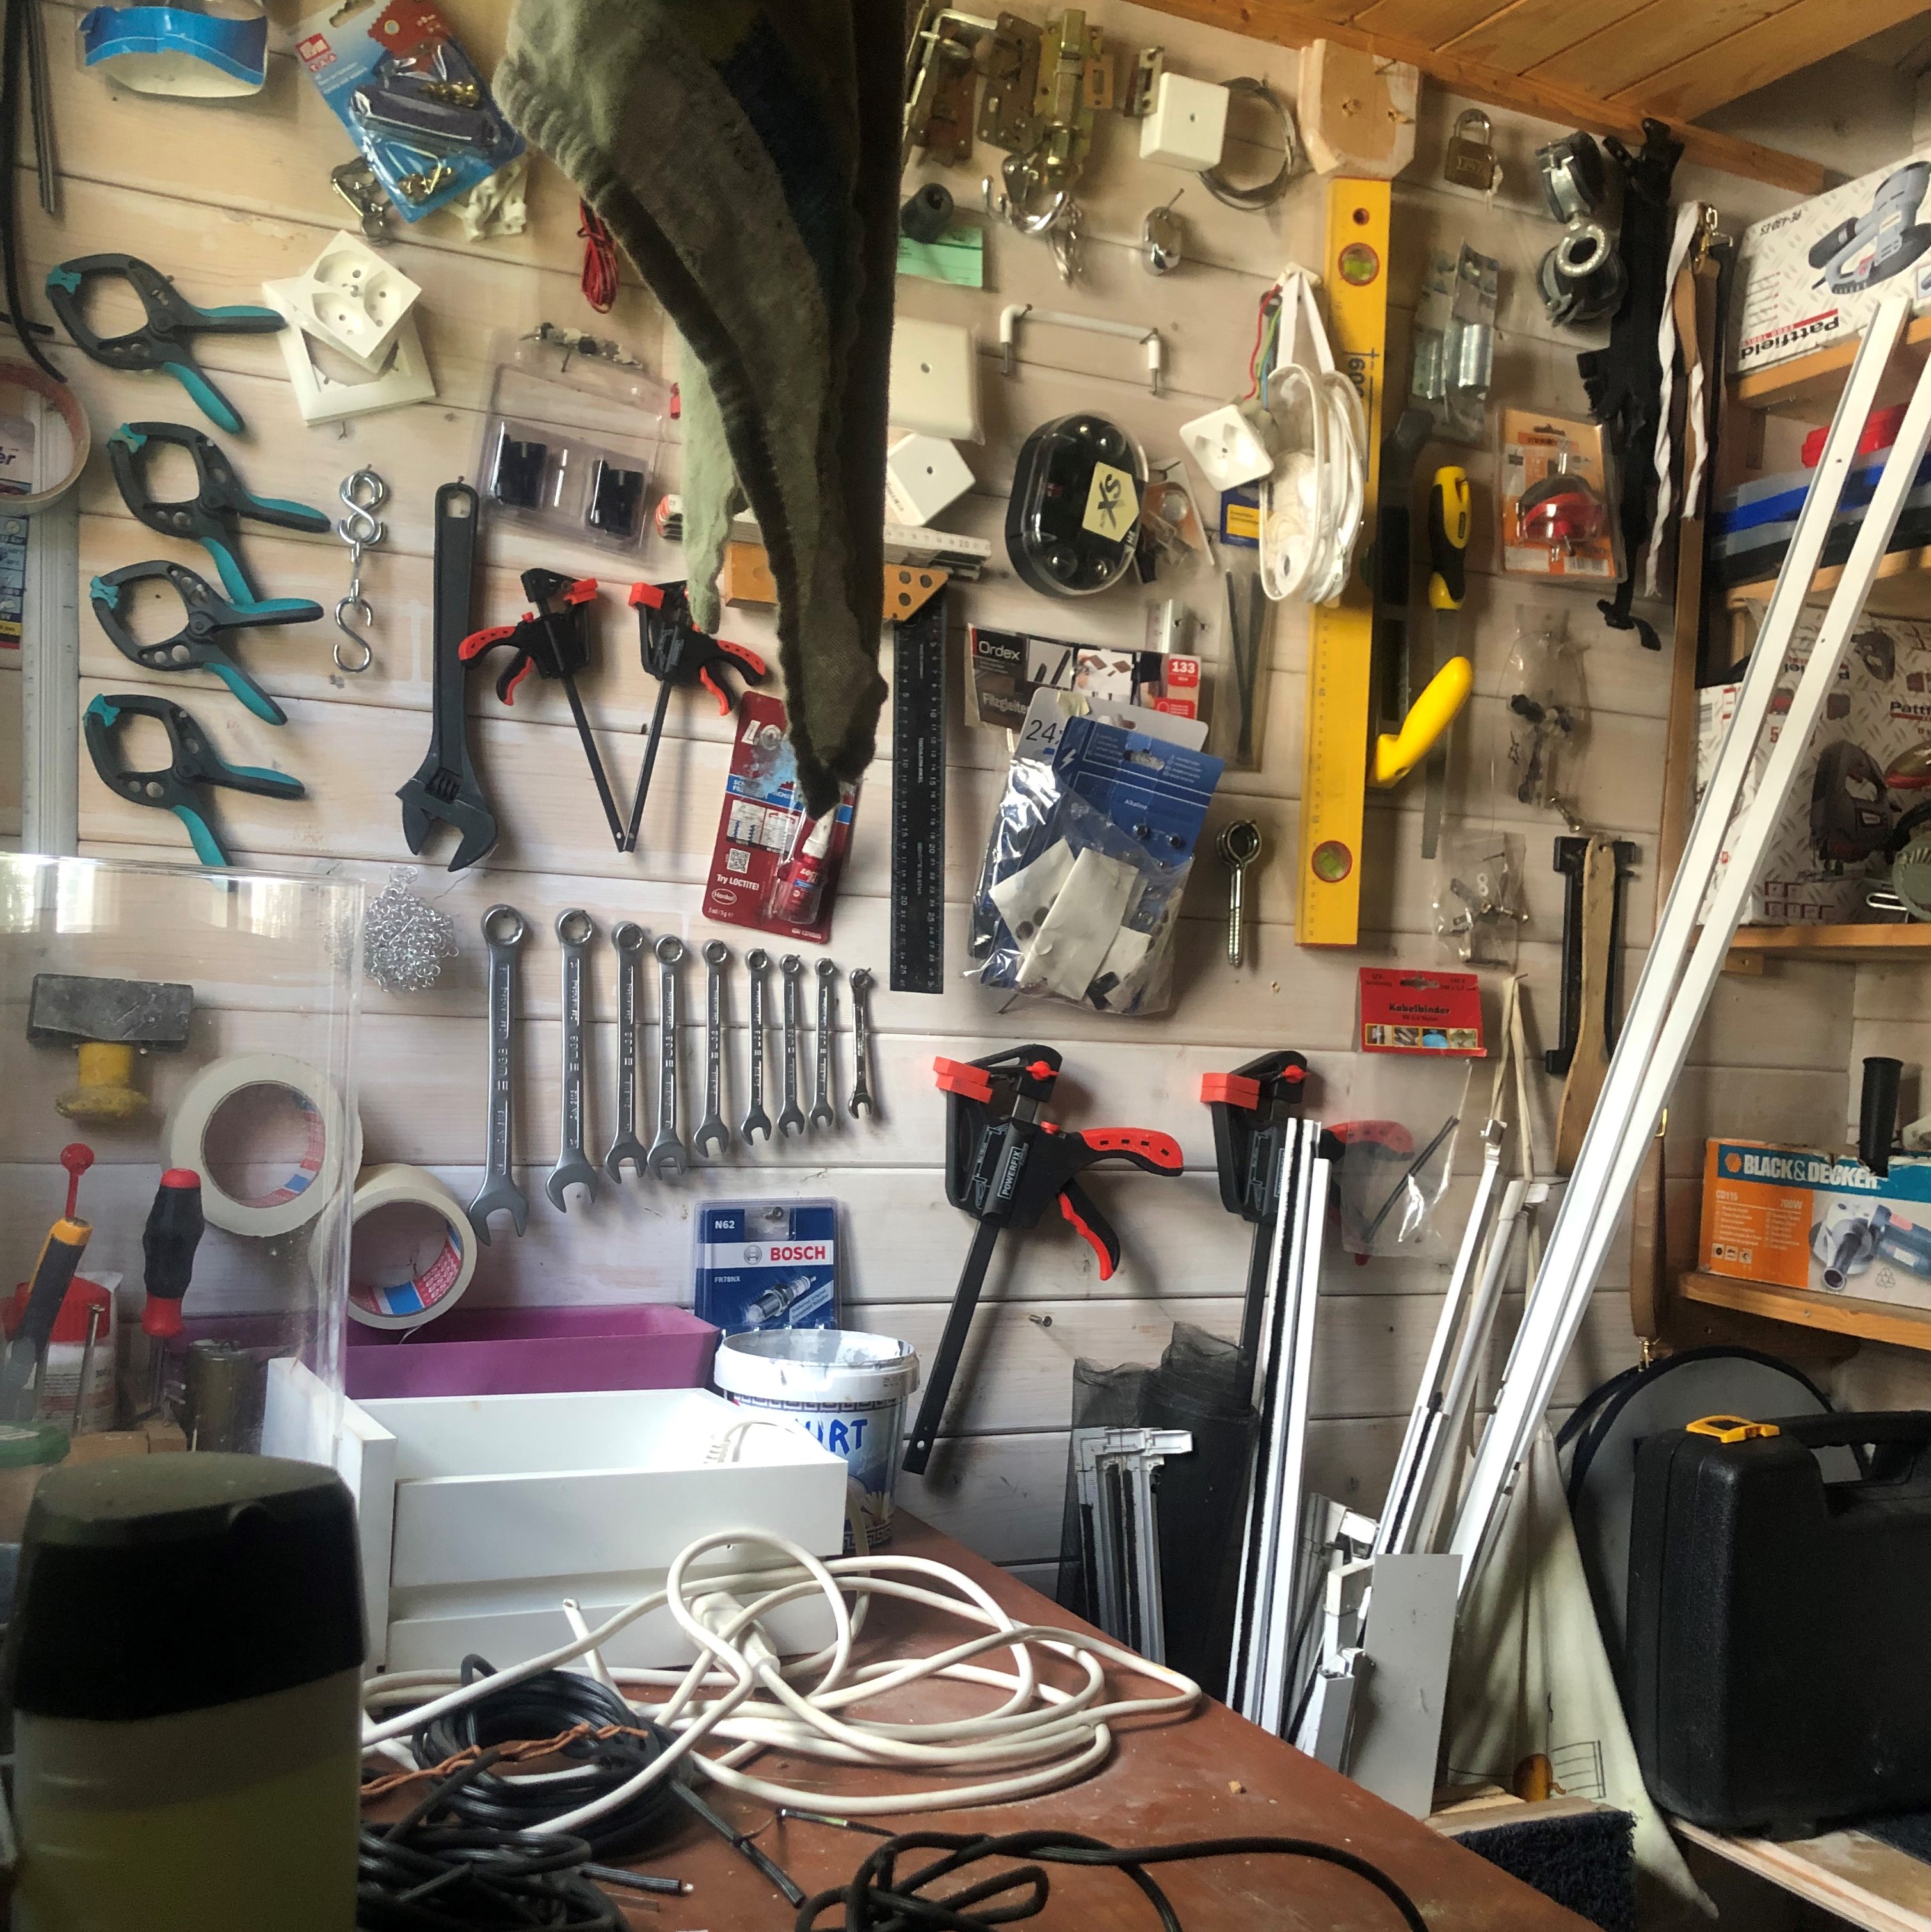
The Shed
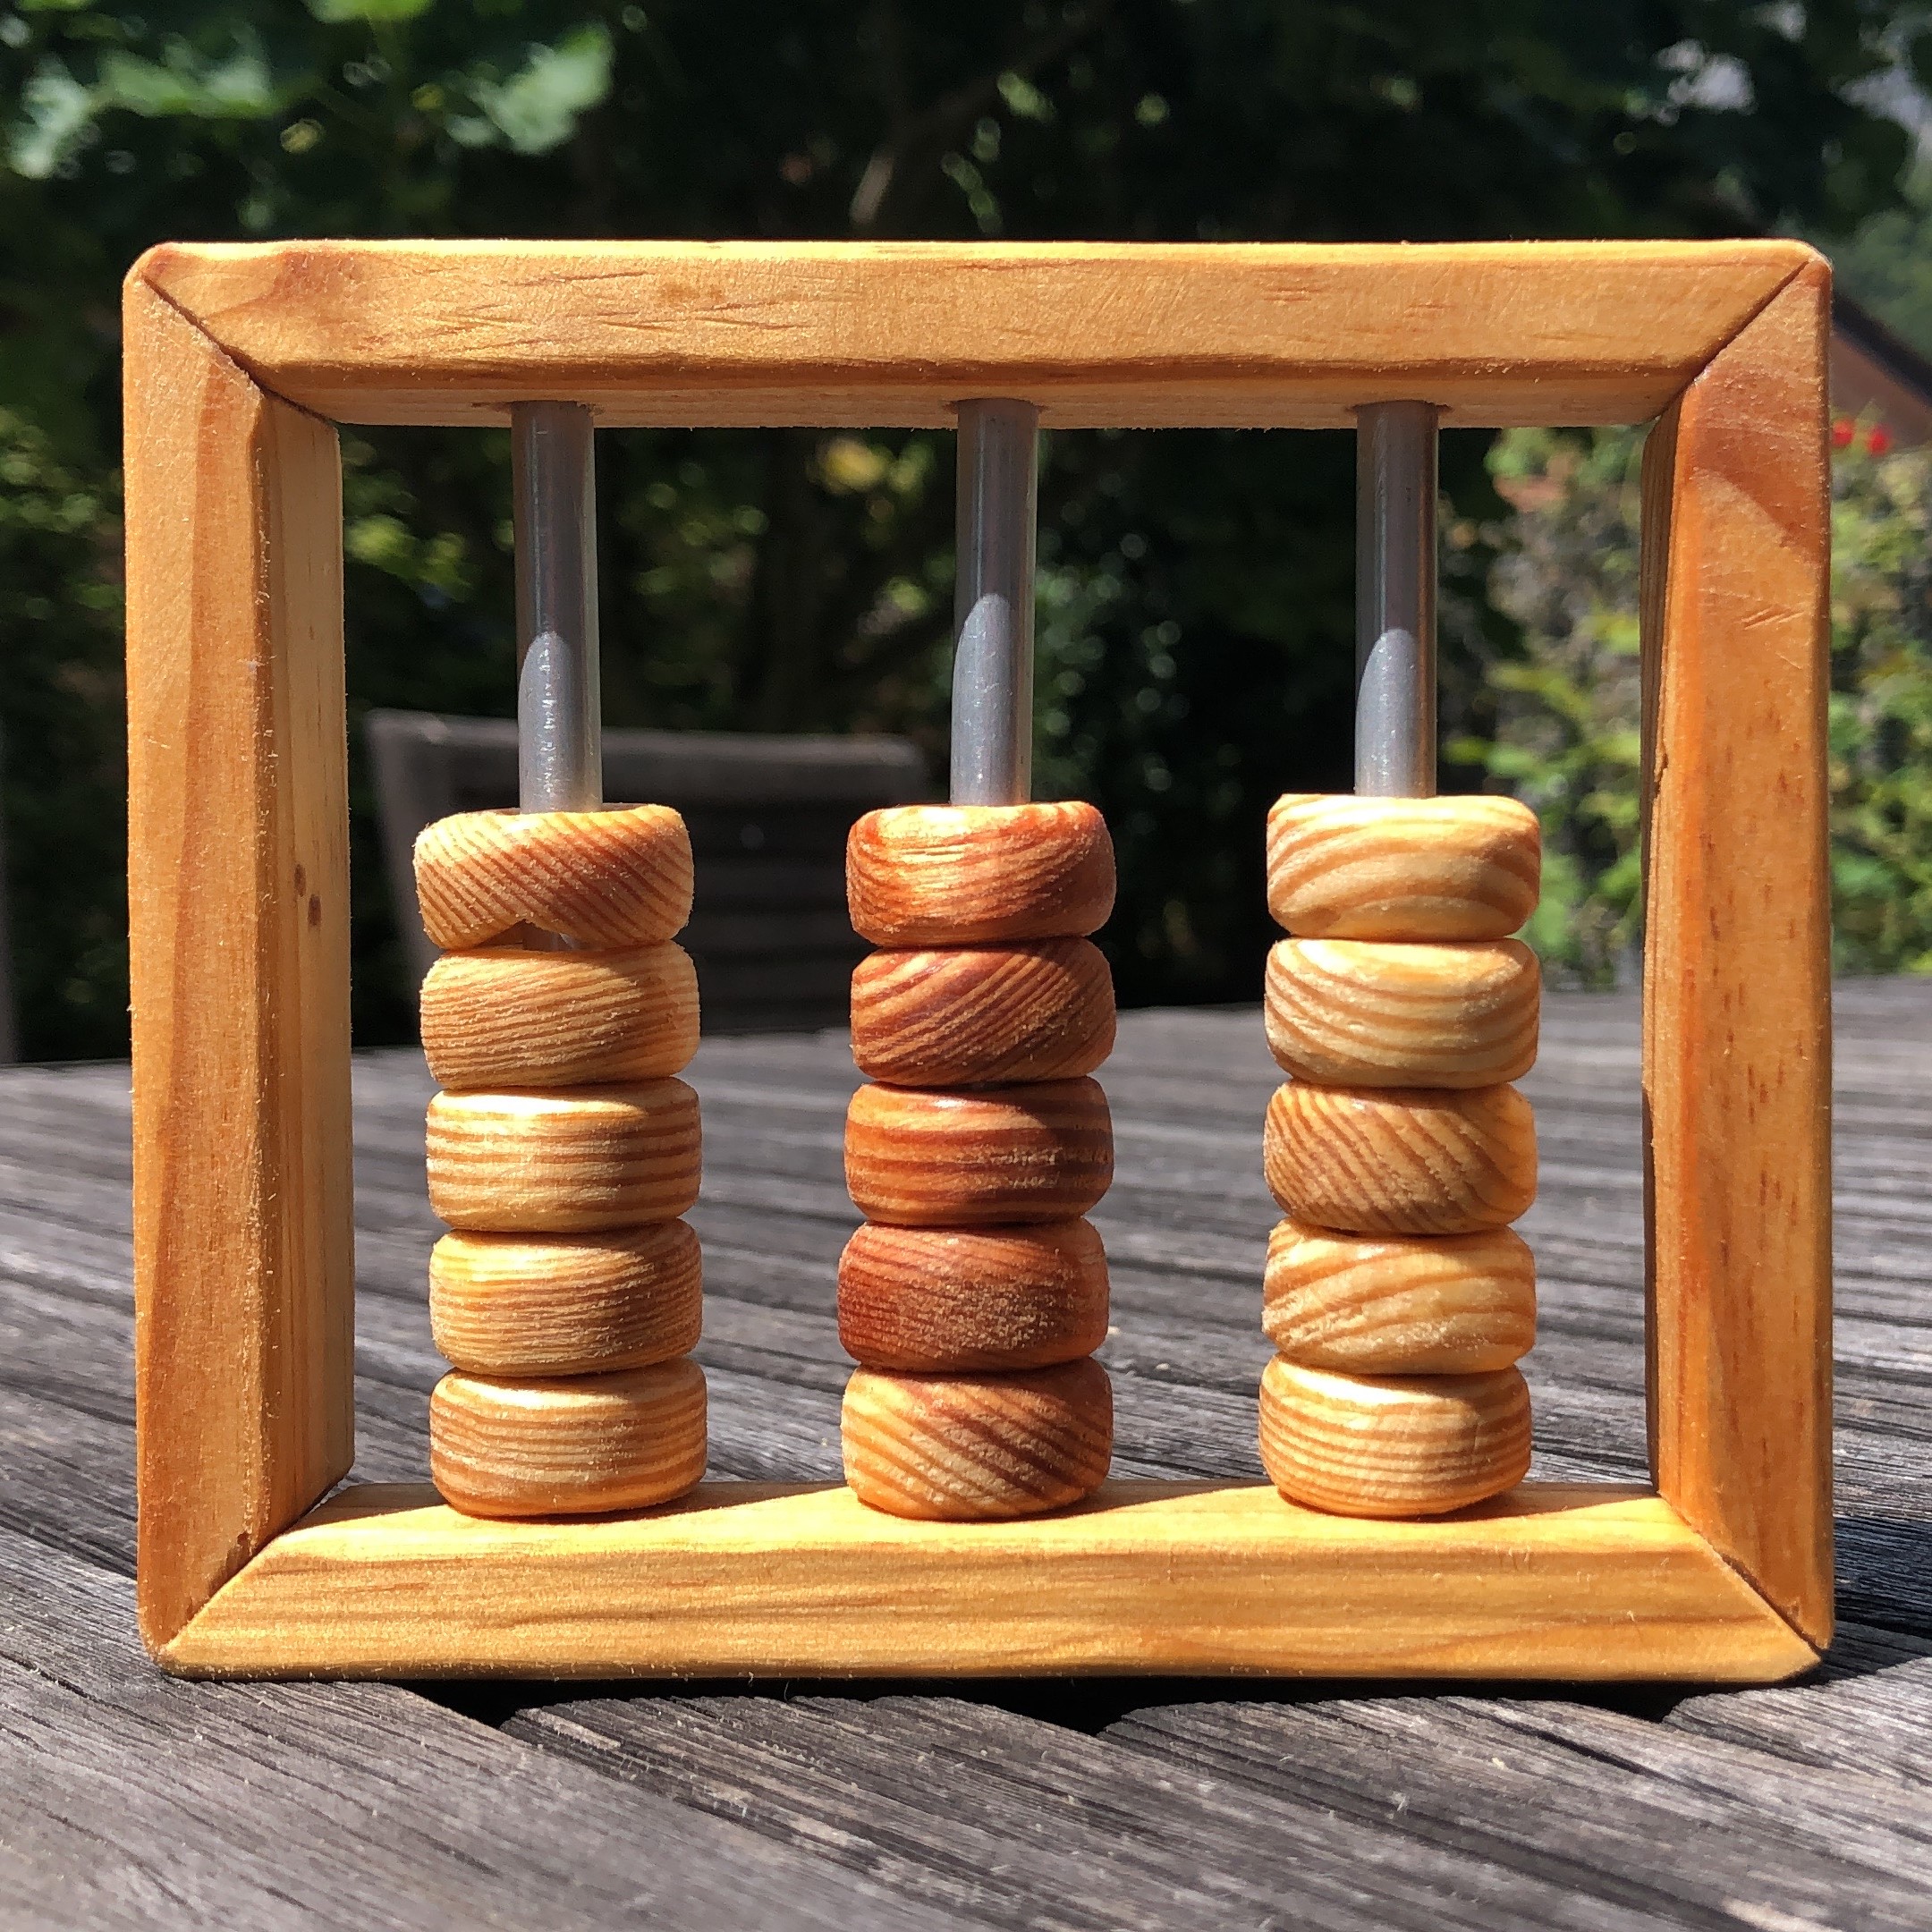
The Result
A note on safety.

Wear sunscreen
This is a threat
Here is the full list of materials and tools that I used to make the abacus.
Here are the basic measurements for the wooden rod, wooden plank, and metal rod such that they all fit together.
The wooden rod was sectioned into fifteen 1cm-thick beads, pierced in the center with the 8mm drillbit and shaped with the dremel.
The wooden plank was cut into four pieces (10, 10, 12, 12) to form the edges of the 10x12cm frame. The extremities of each piece were cut at a 45° angle on the thin face to meet the adjacent edges. Three 0.5cm-deep 6mm-holes were drilled into the two longer edges on the wider faces to hold the metal rods. The gap between each hole is 3cm.
The metal rod was cut into three 9cm pieces, with 0.5cm of each extremity fitting snugly into the holes in the frame, leaving 8cm exposed.
I began by penciling out my measurements on the wooden rod, wooden plank, and metal rod, and then sawing them by hand in my mitre box. Then I needed to drill holes in the wooden beads without drilling through my table so I set down a block of wood and two support beams to hold the wooden beads while I drilled. Here it is very important to drill slowly with progressively larger drill bits, and only clamp lightly from the sides, or else the beads will buckle. Another neat trick is to drill halfway from either side to prevent splintering. At this point I also drilled the 6mm holes in the frame edges, taking care to not sink my drill too deep.

Mitre Box & Materials
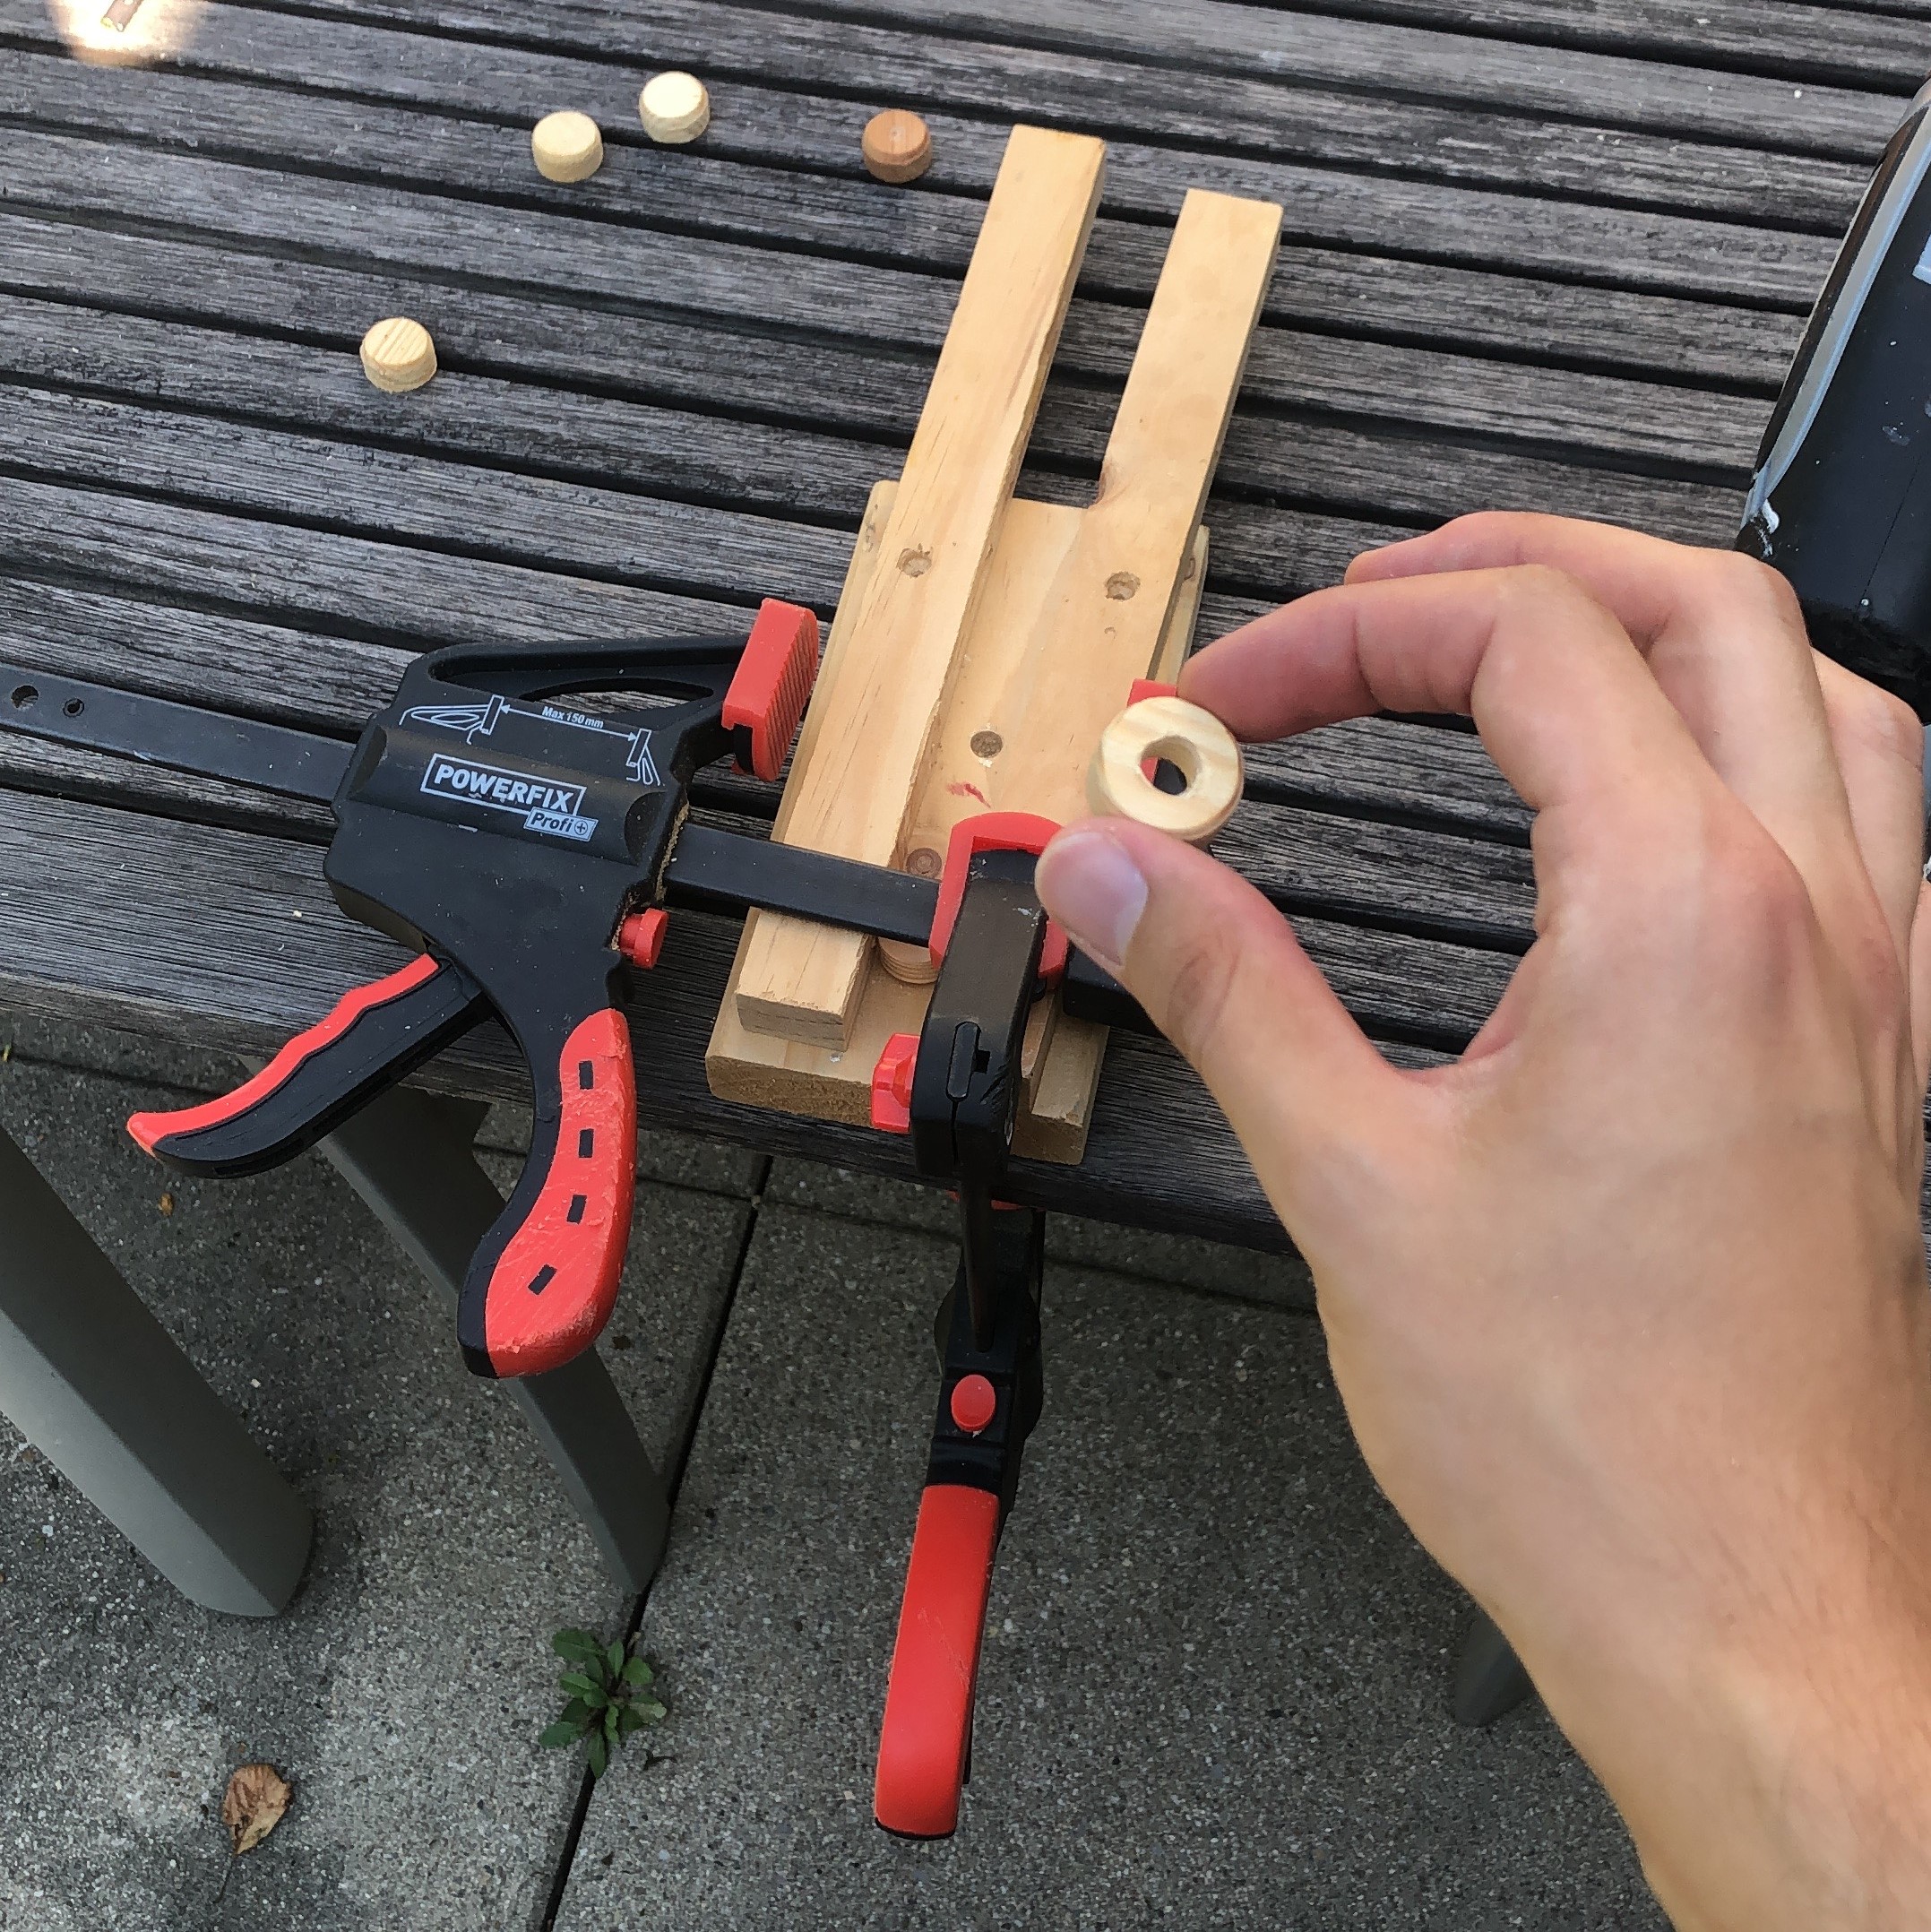
Not Enough Clamps
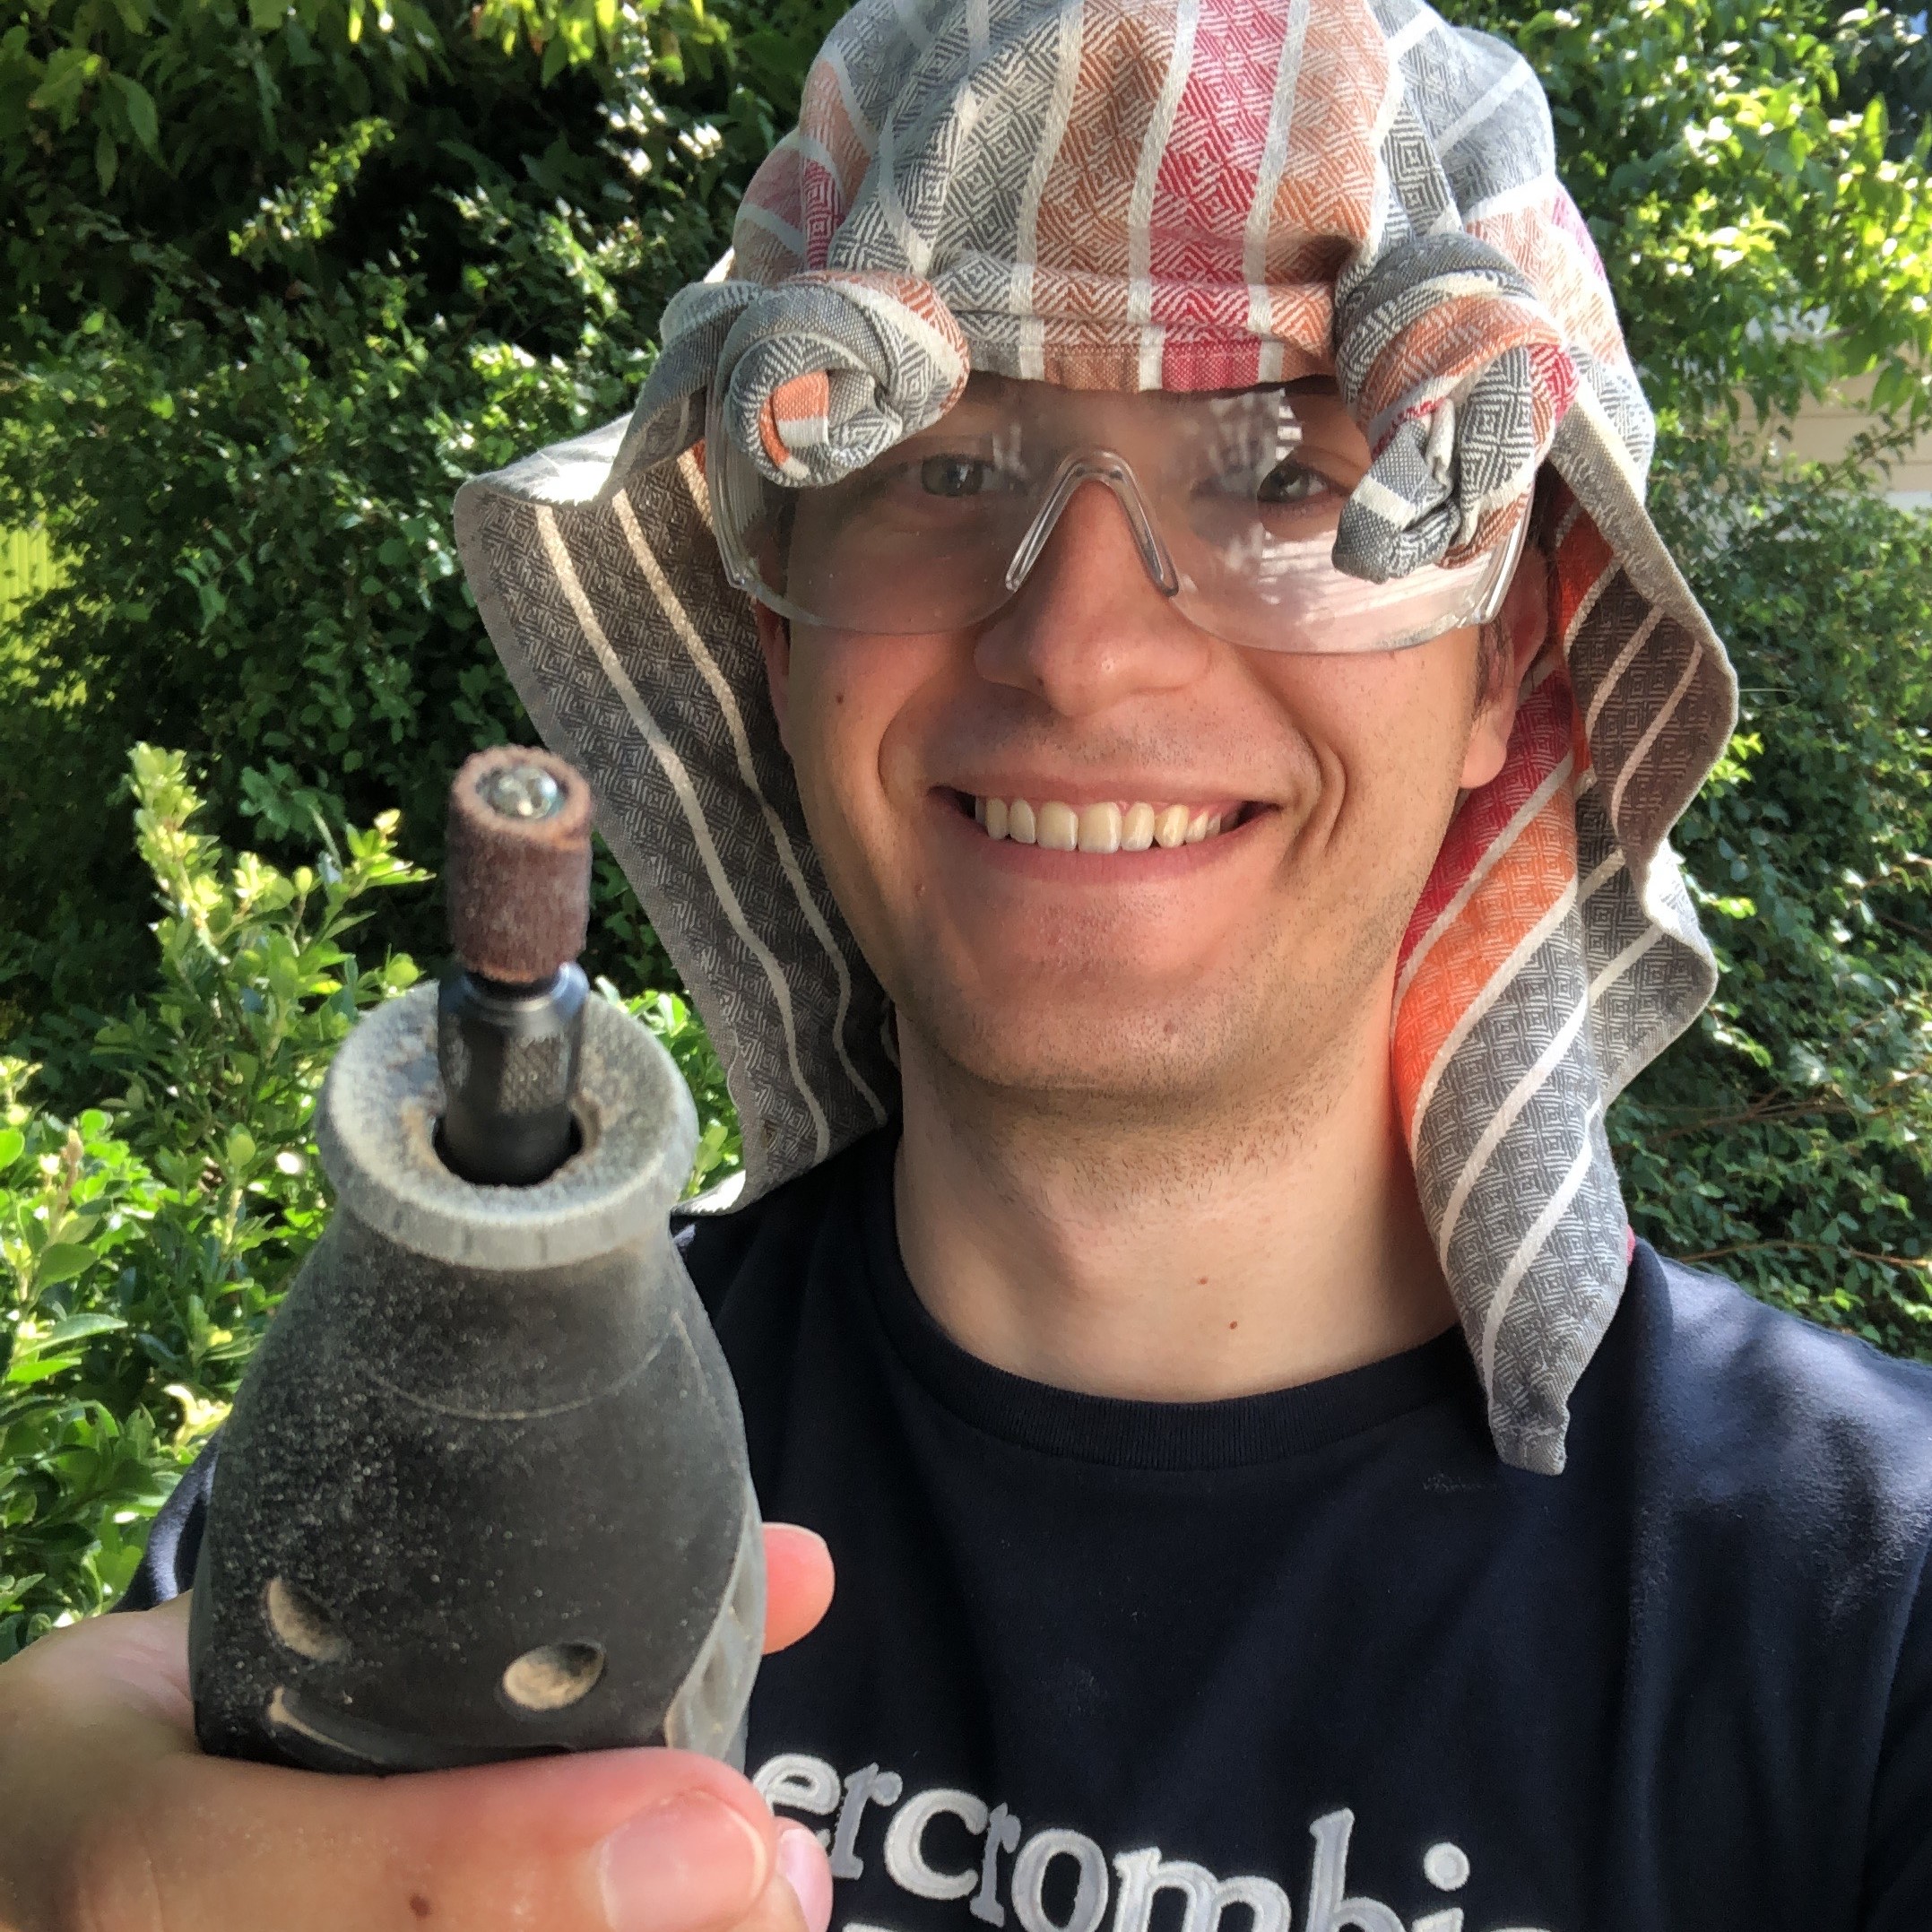
Hydration check. I put on my protective gear, plugged in my dremel, and moved on to sanding. I flattened out the tips of the metal rods, which I had cut at an odd angle (skill issue). I smoothed out the faces and edges of the frame with a sanding block, making sure to eliminate any splinters. However, when I got to sanding the beads, I realised that none of my dremel heads were small enough to fit inside the rings, so I had to get creative. I wrapped a strip of sandpaper around one of the metal rods, holding it with a metal wire, and fixed it to my drill. This fit nicely and I was able to remove the splinters on the inside of the beads. Finally I got the beeds into nice donut shapes with the dremel.
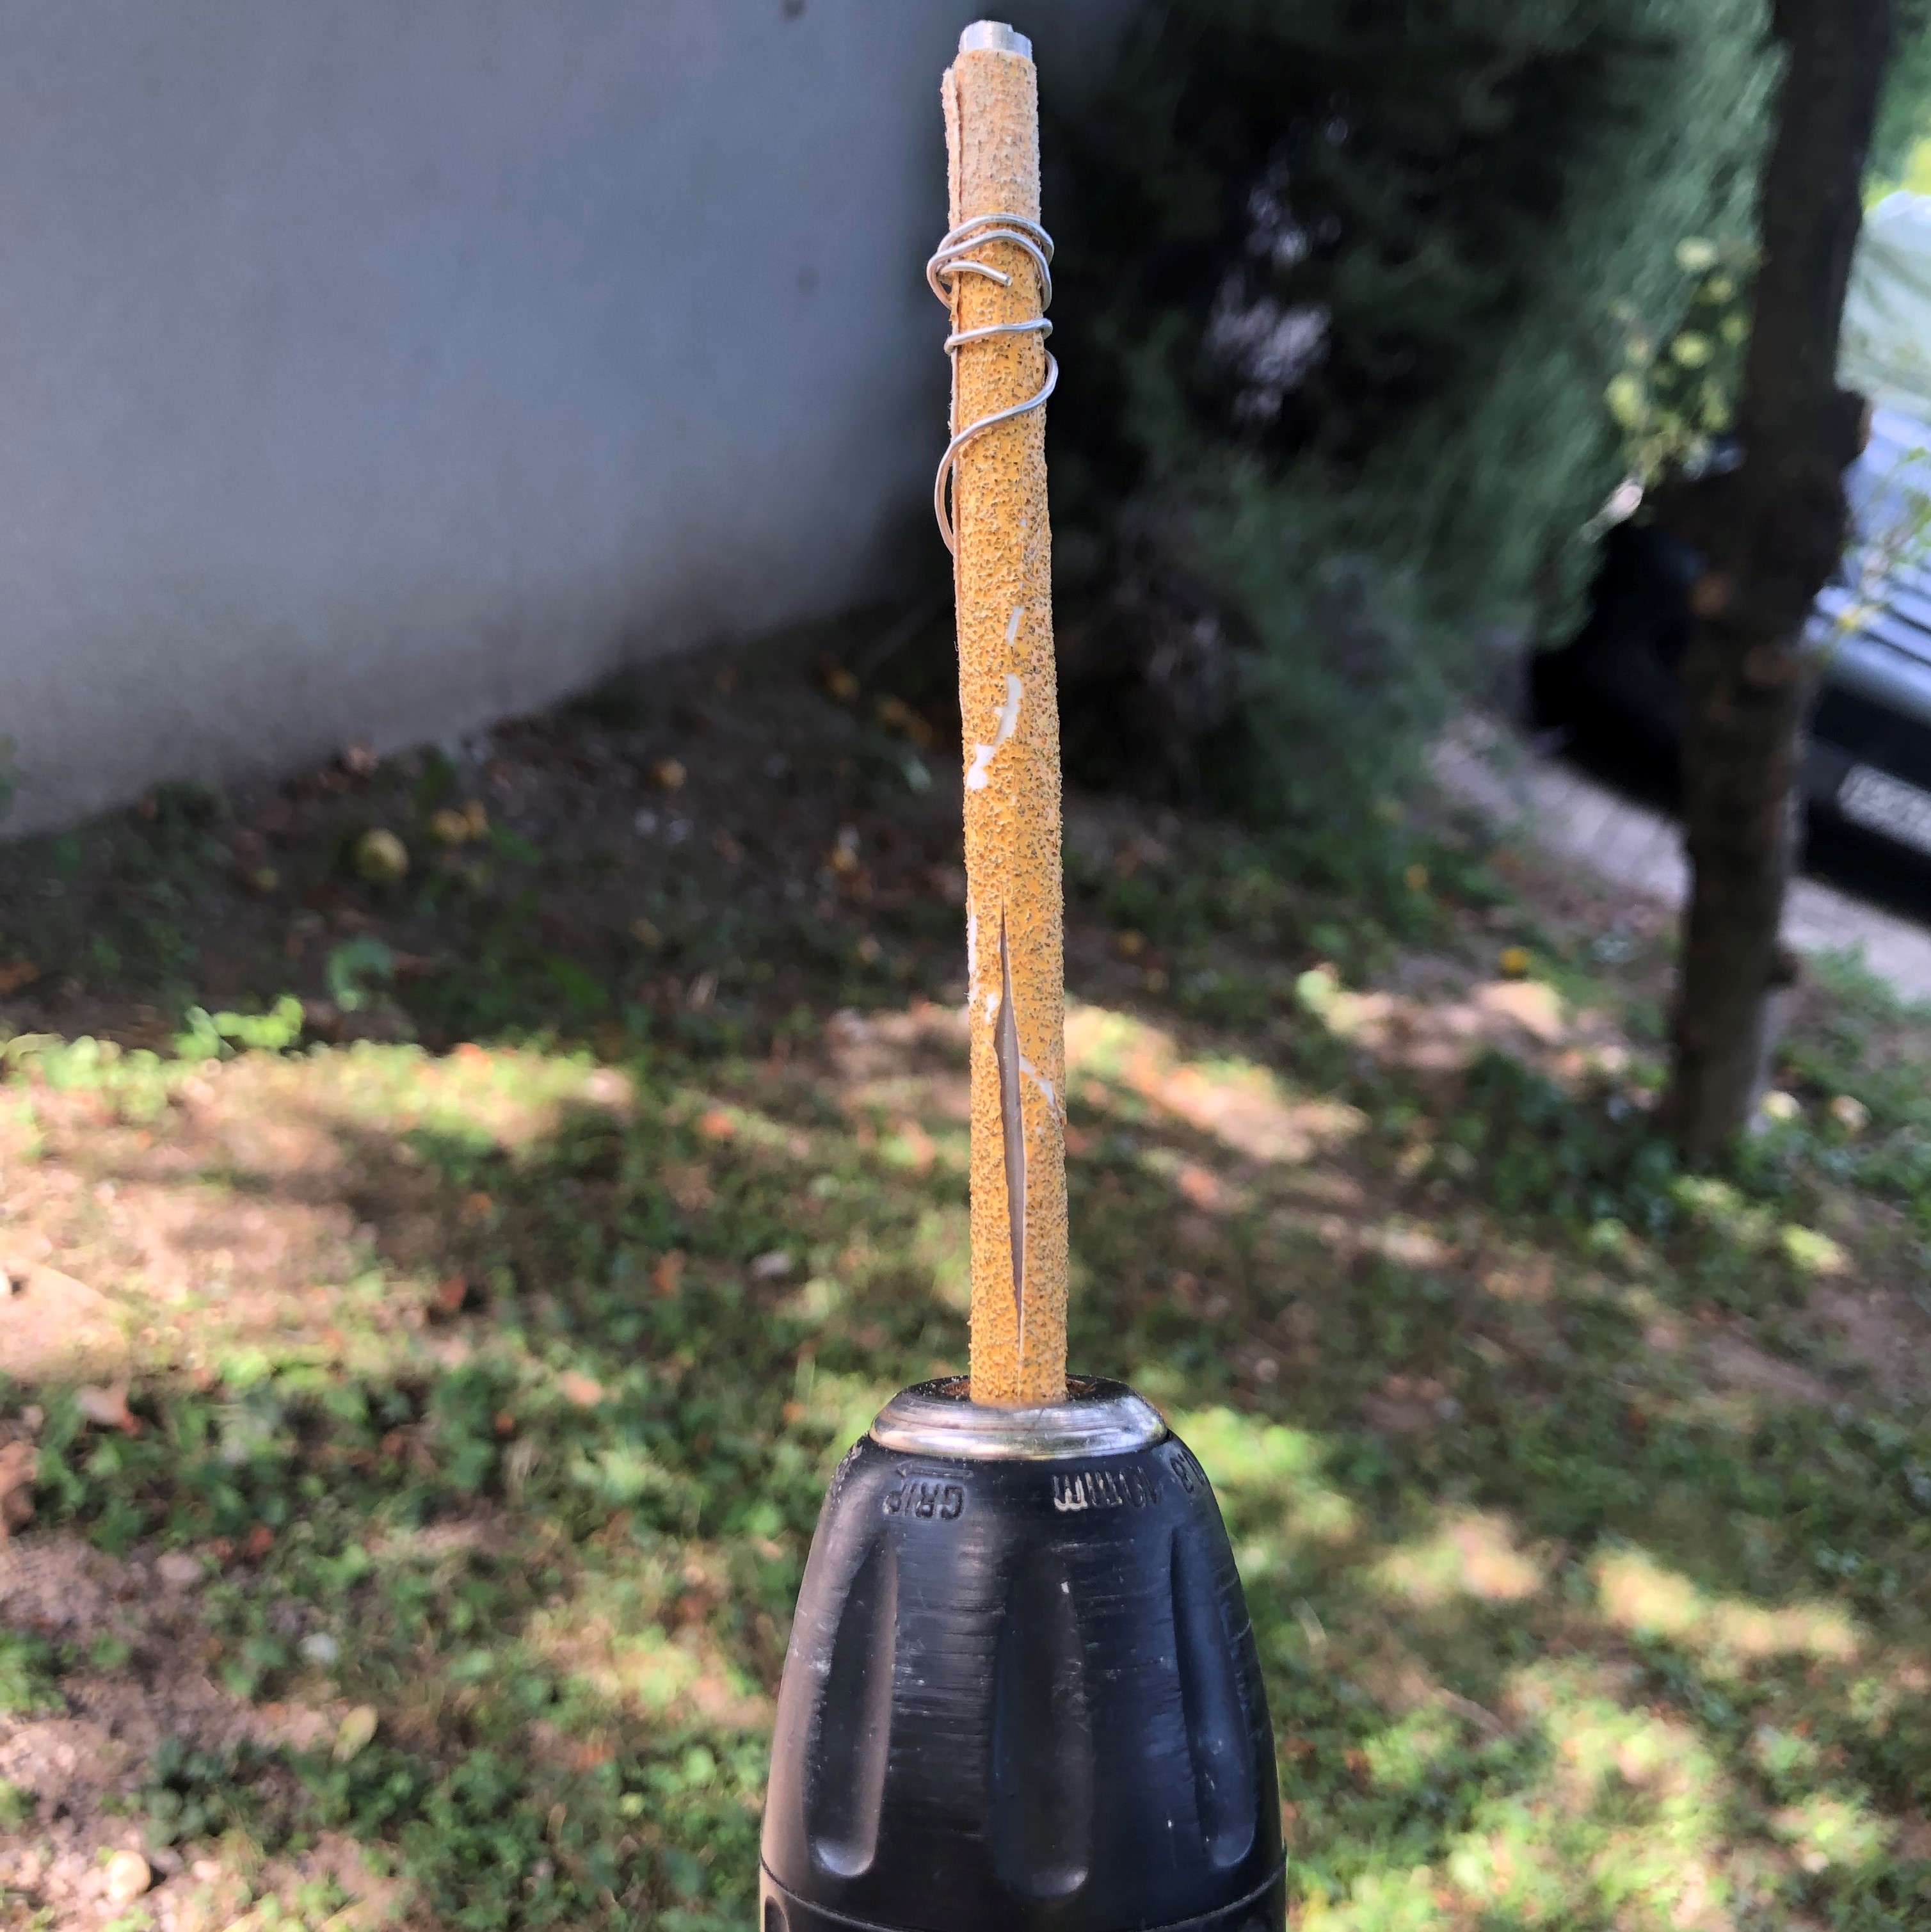
Dremel, but Longer
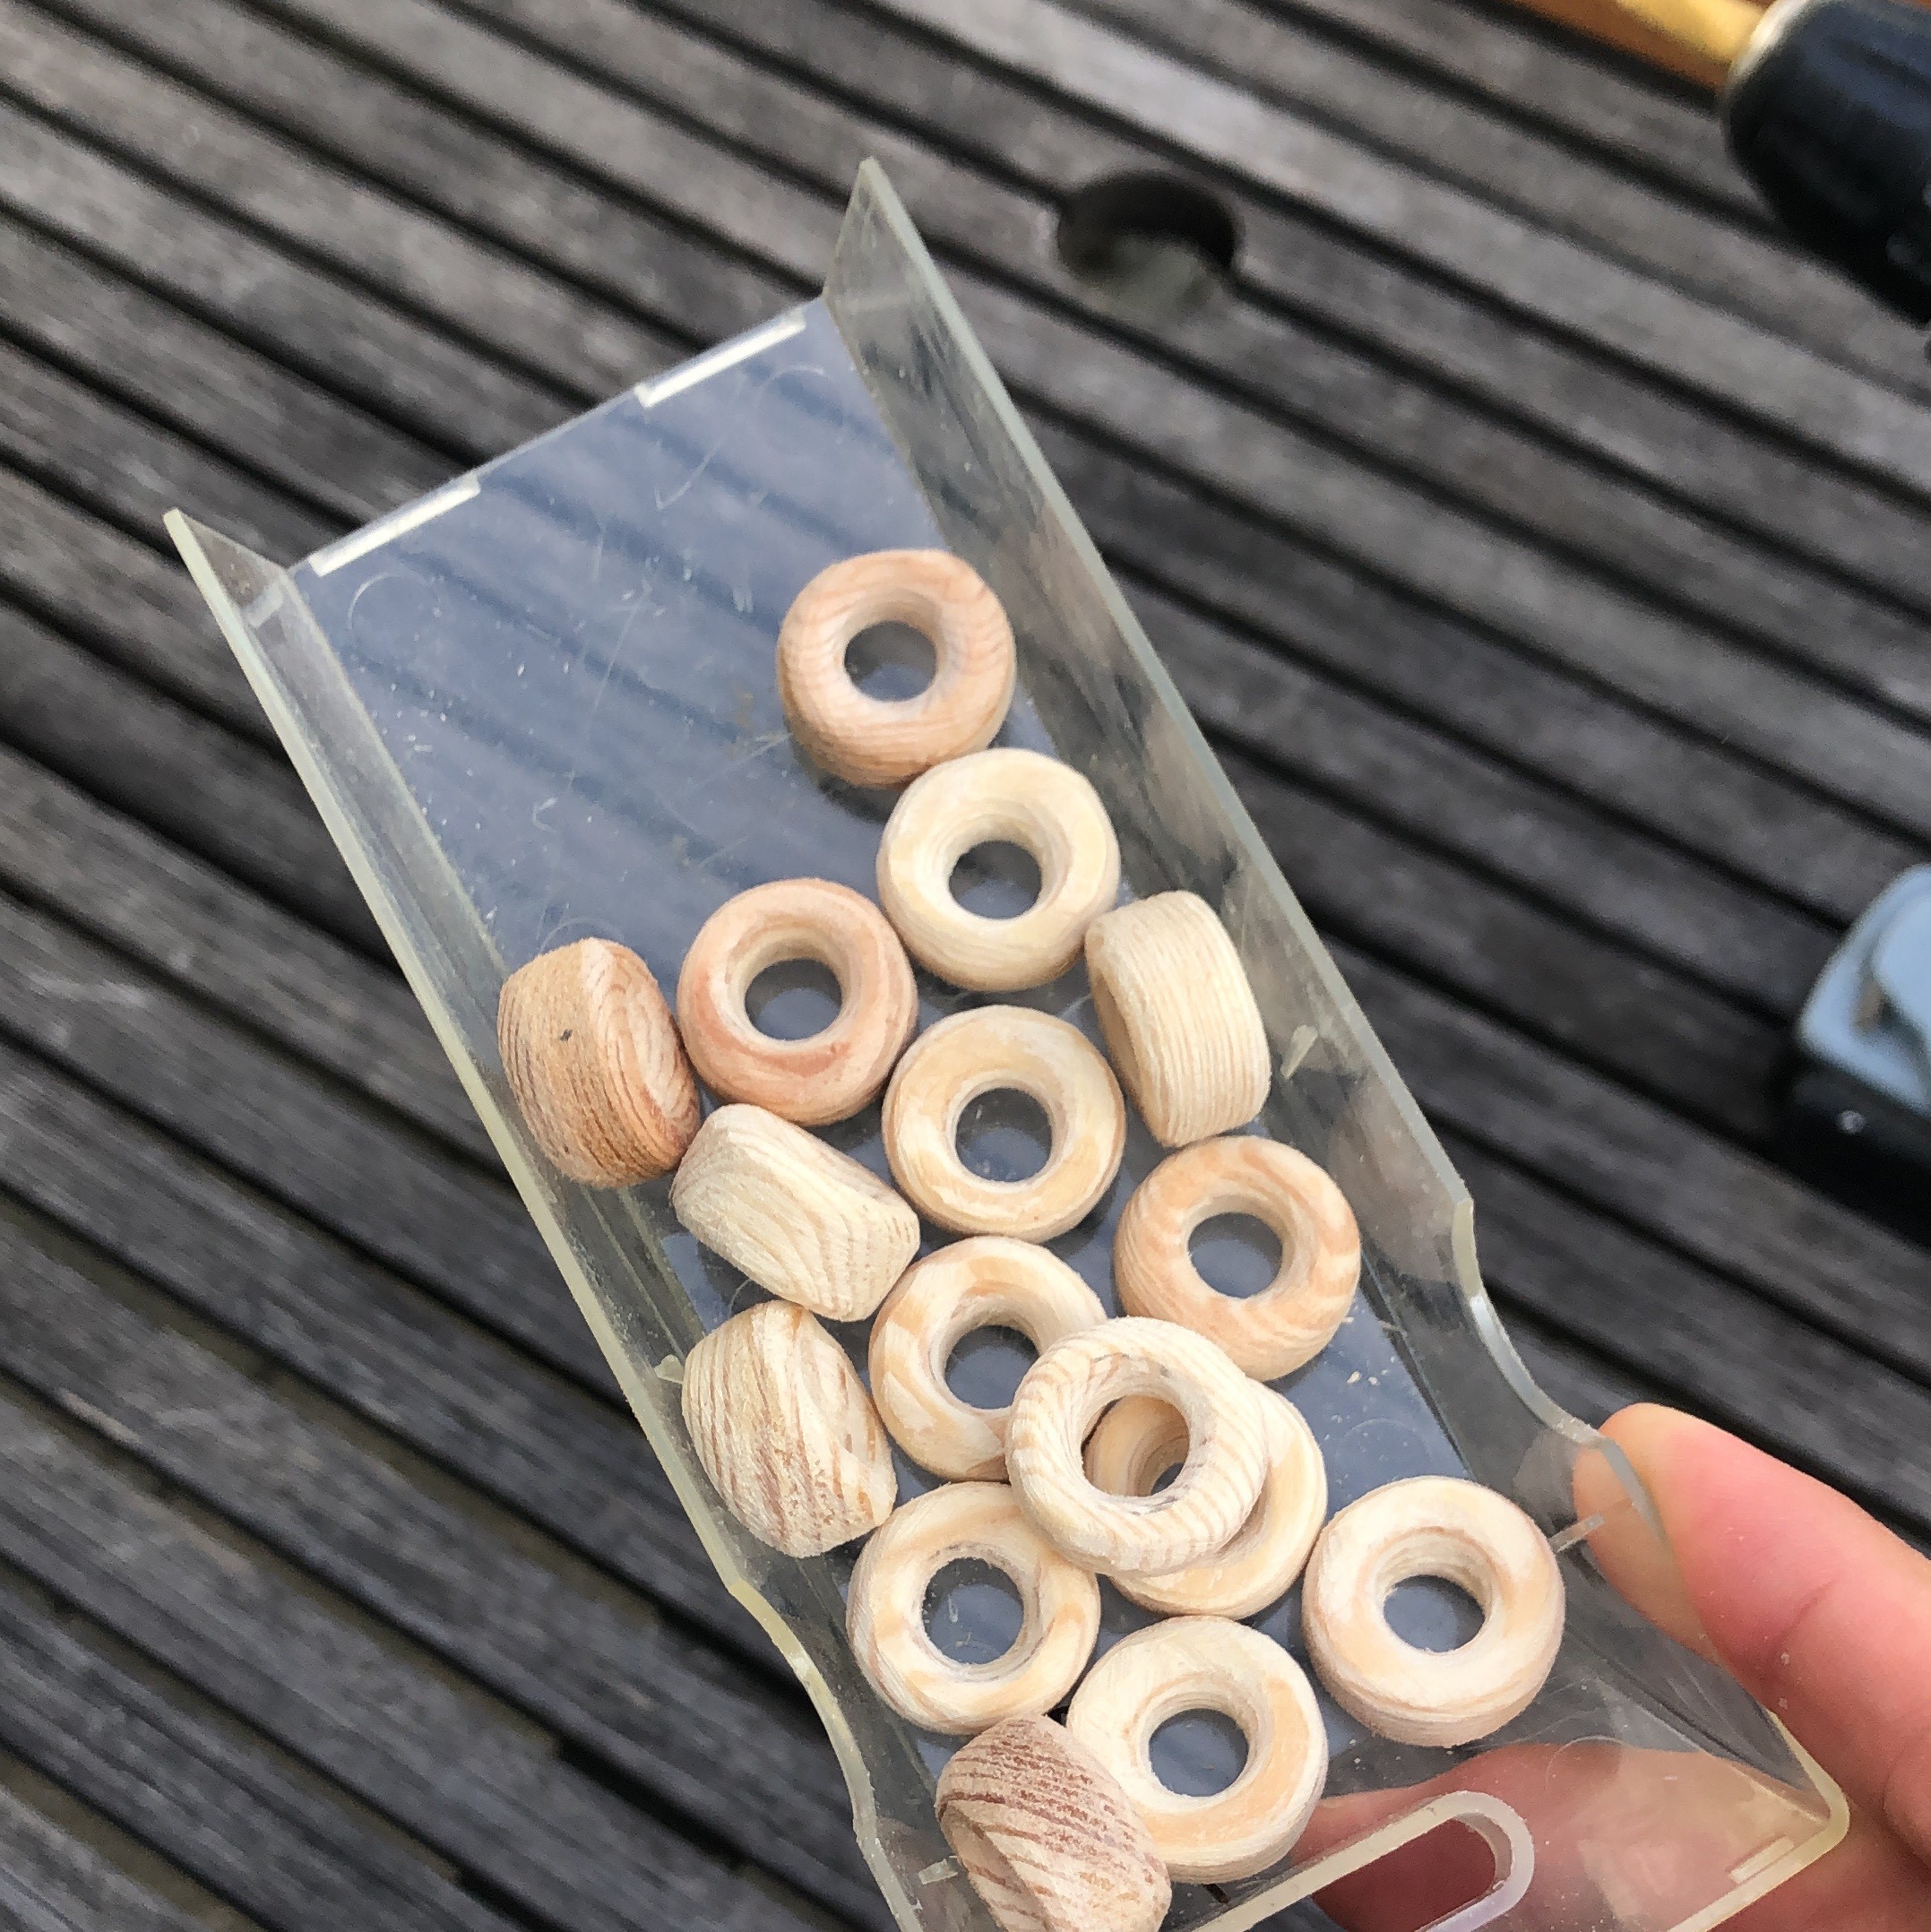
Forbidden Froot Loops
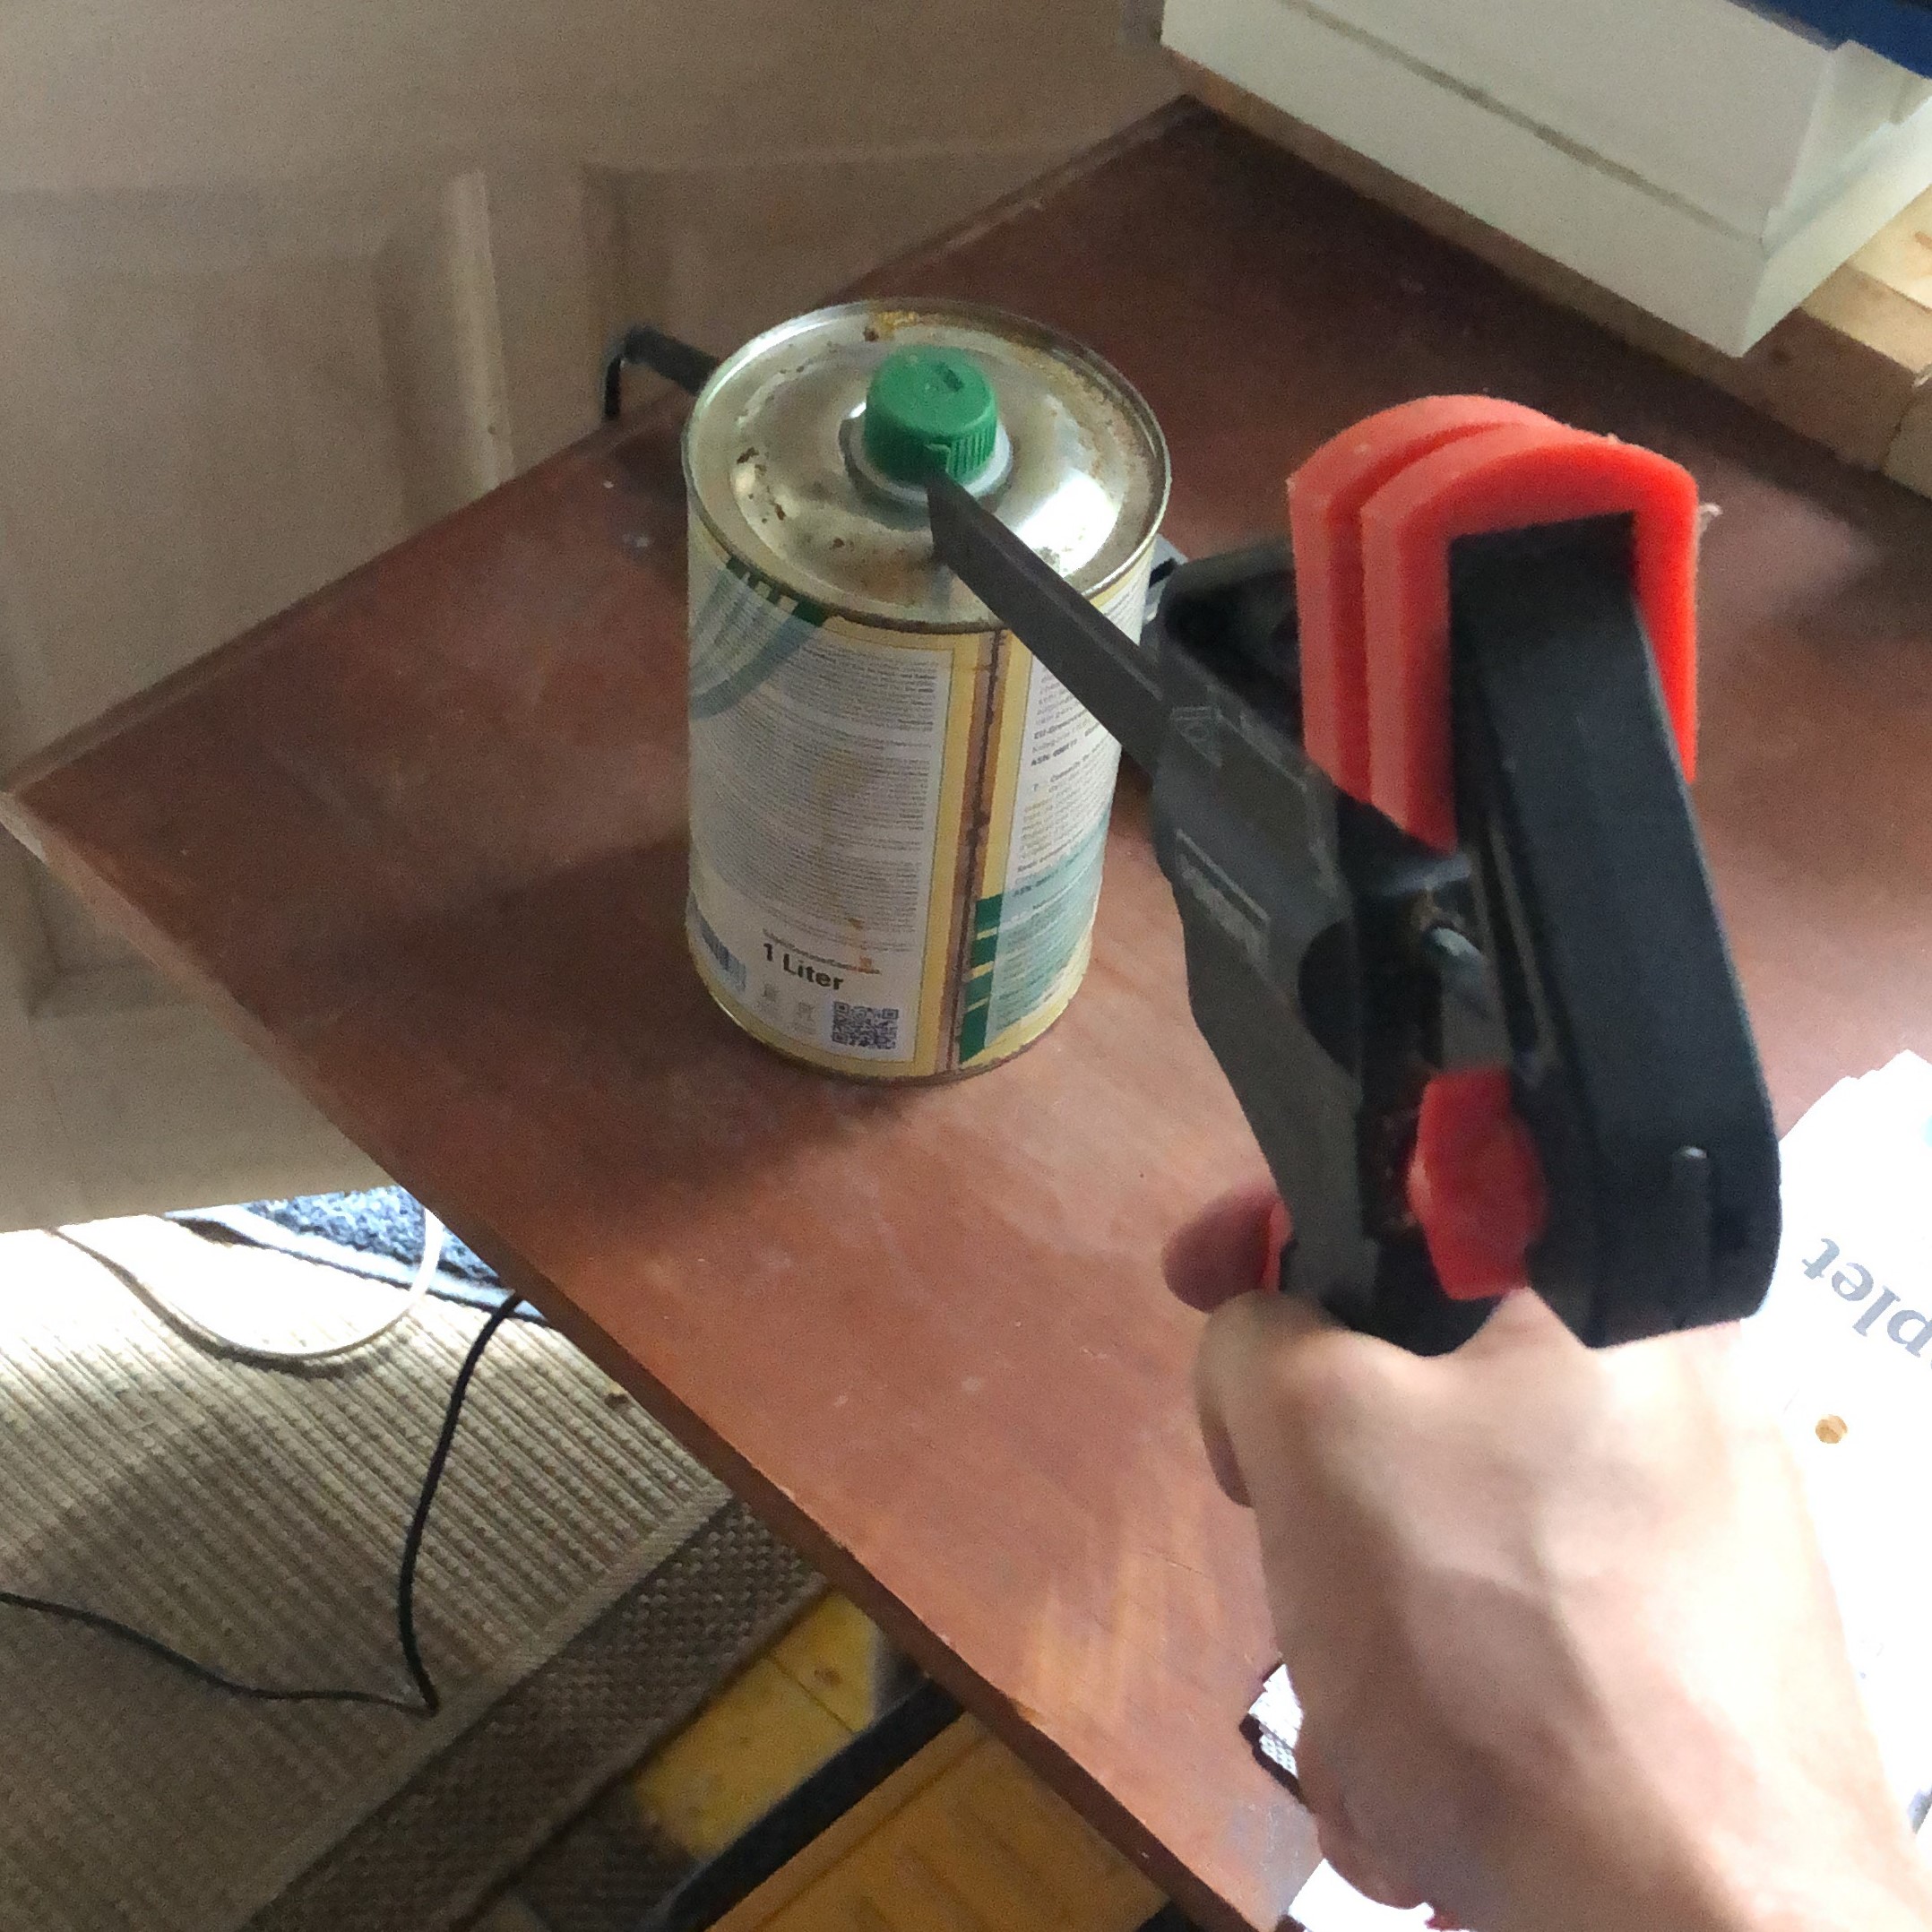
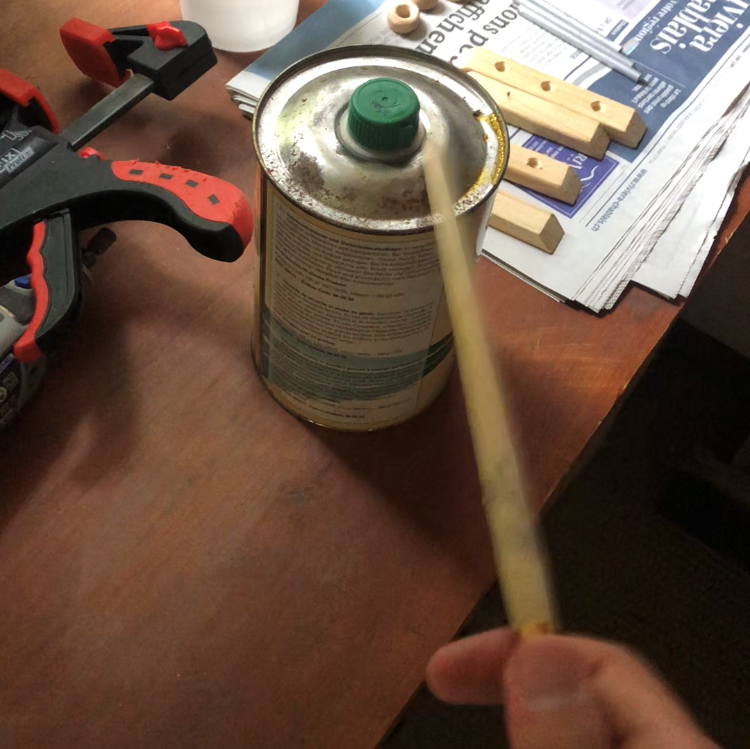
At this point all that remained was to treat the wood with some tasty nontoxic linseed oil, but I ran headfirst into the secret final boss of the project. The oil can bottlecap. This terrible beast of a childproof cap was so difficult to open that I seriously started to doubt the year on my birth certificate. I deployed my entire arsenal of tools against the Thing and still it would. not. open. Depicted is only a fraction of the pain I had to endure to eventually pop it open.

The Finger Crusher
Stick 'em up
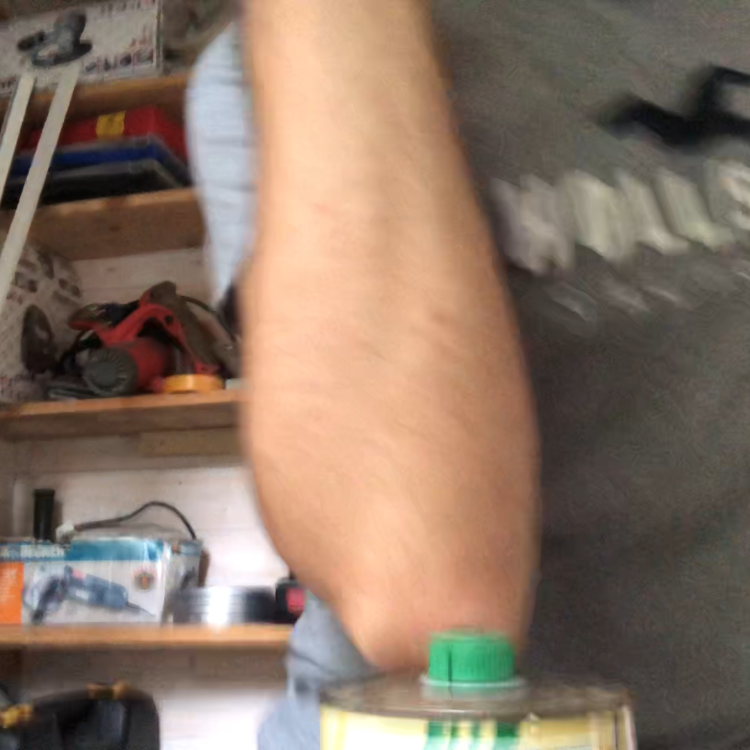
Elbow will never recover
Alohomora
Finally, I was able to pry the wretched monster open with a flathead screwdriver. I poured a drop of the linseed oil into a plastic cup, laid the thirsty wooden pieces on the local newspaper, and applied three layers of the sacred liquid with a paintbrush. They immediately gained a stunning golden sheen and I left them to dry overnight. The next day I assembled the abacus, sticking everything together with wood glue and doing a final pass of sandpaper.

Obscure Onion Rings
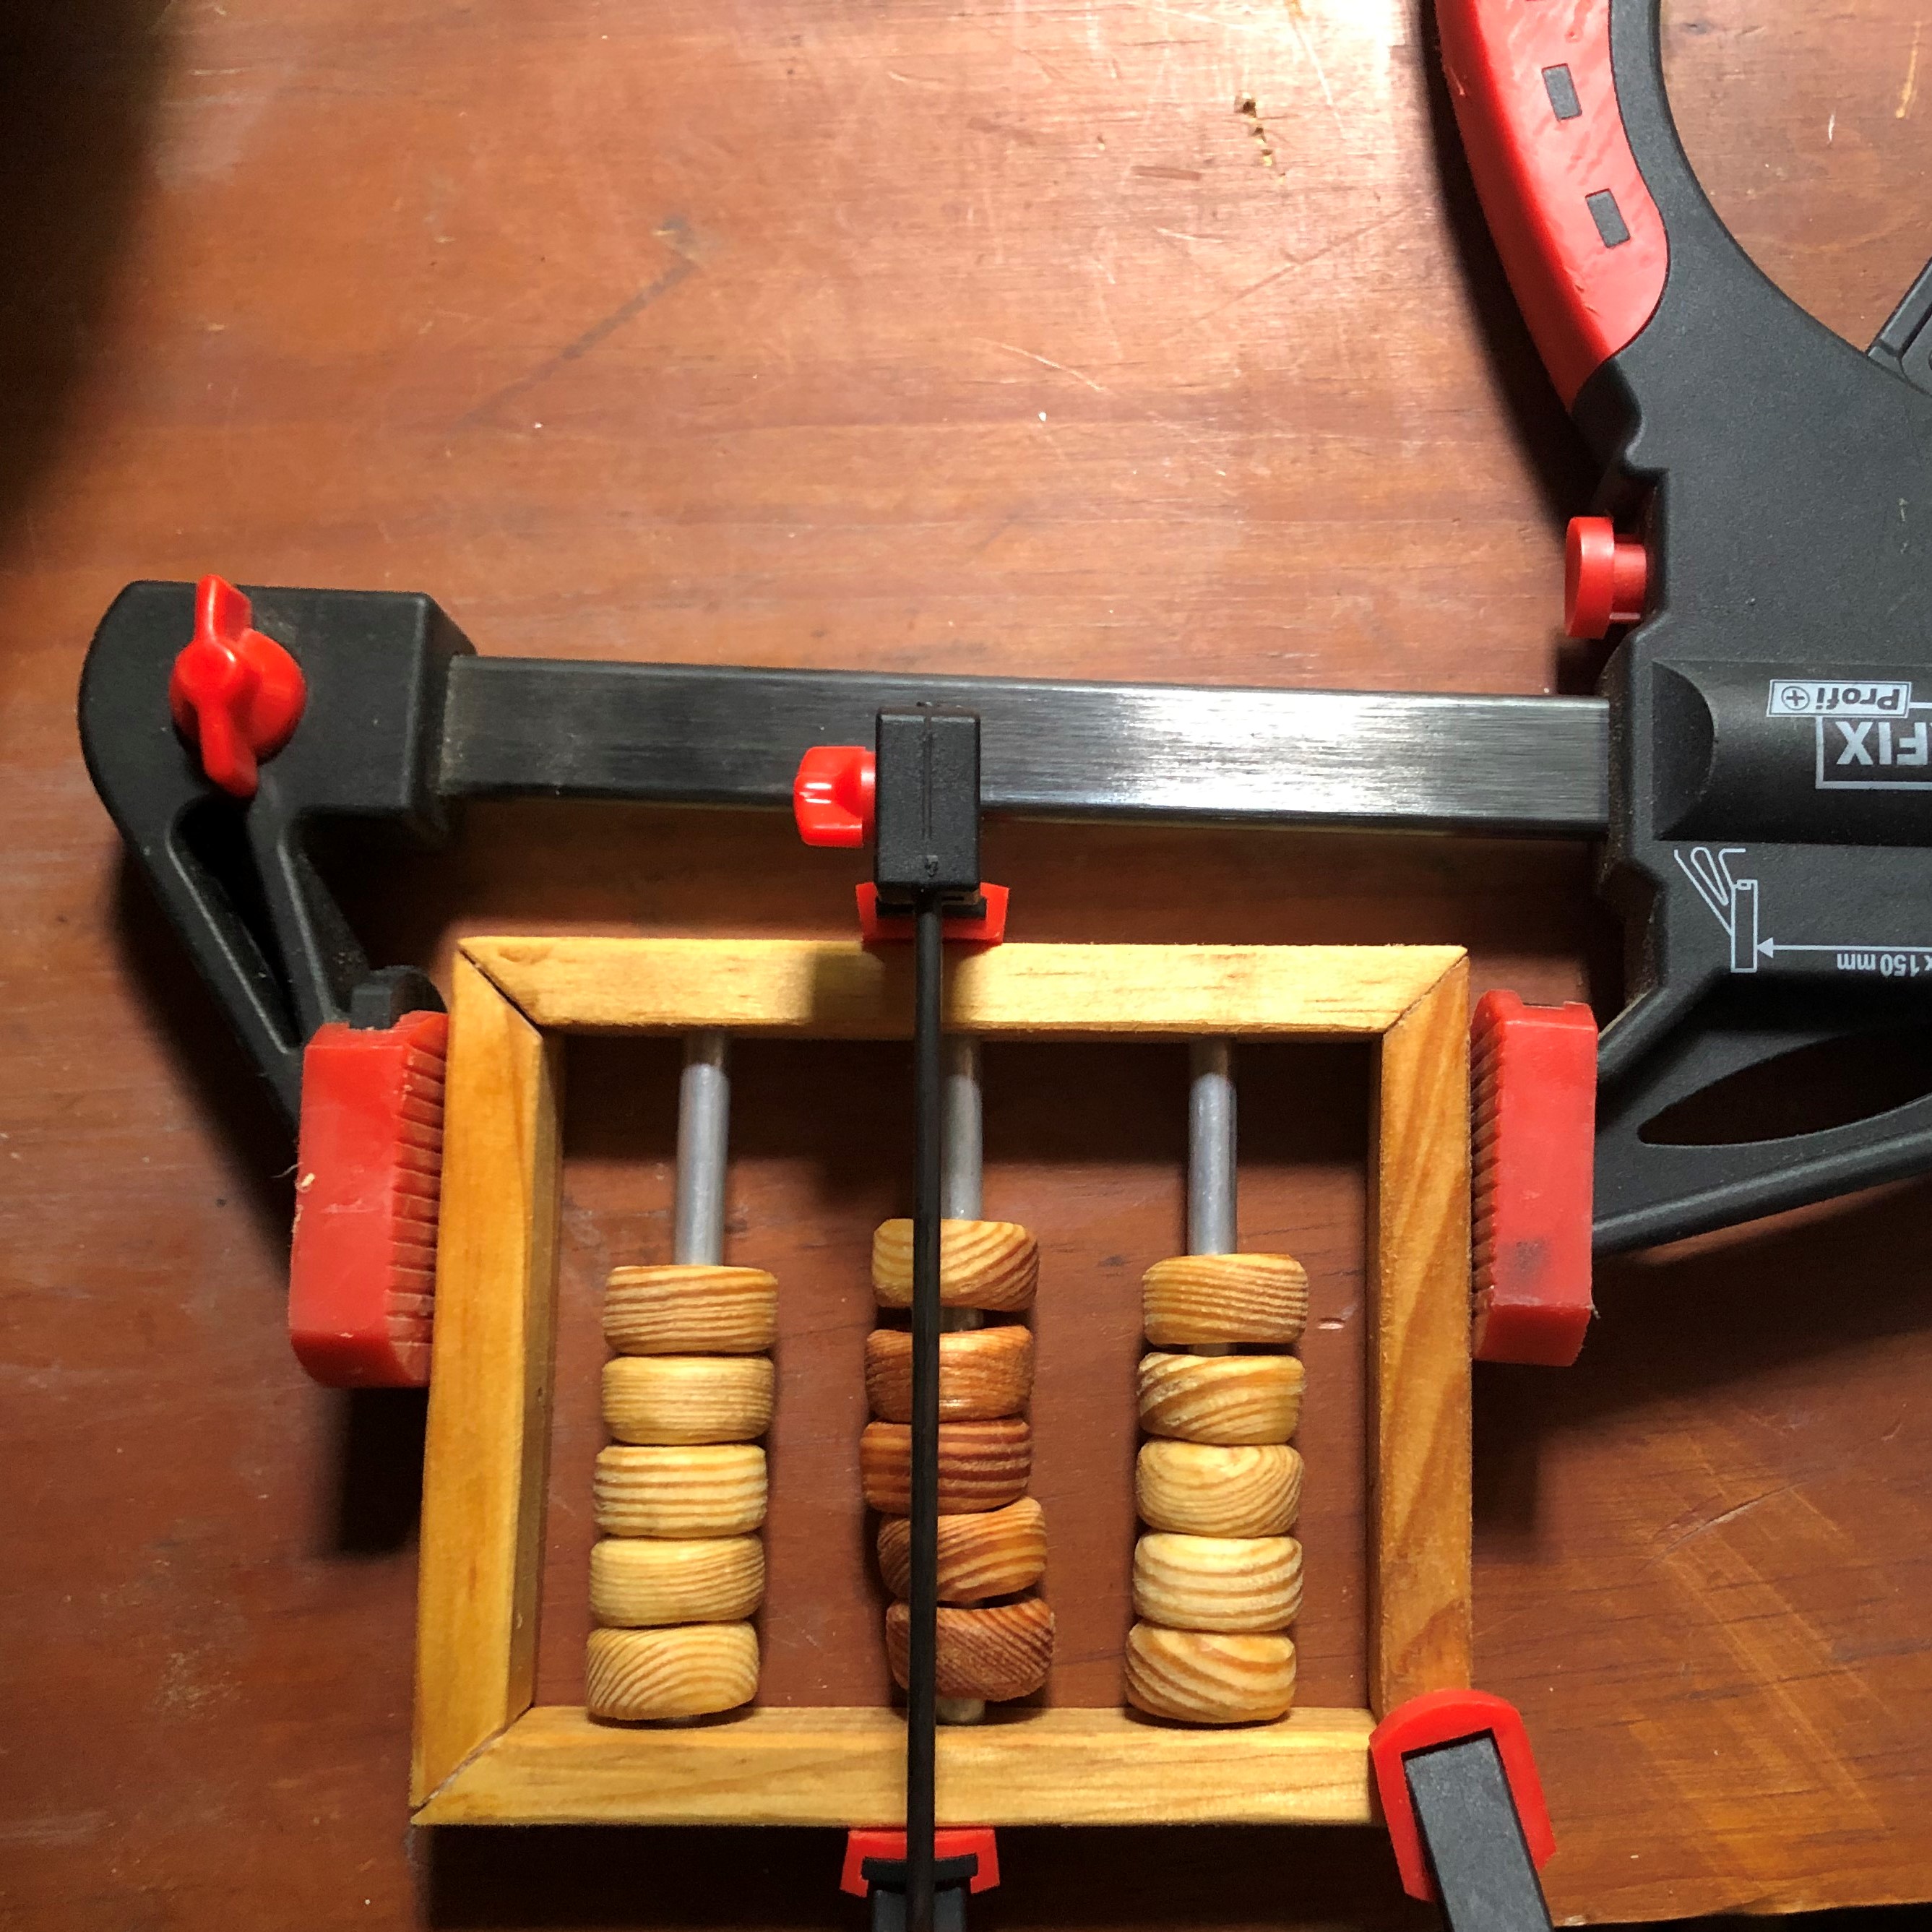
Enough Clamps
And that's it! This multi-day project was really fun, I hope the baby likes playing with the beads, and when she's old enough I hope she learns how to add and subtract with the abacus. That's all from me.
Posted 23/07/2023